
Good Day Cycling Fans,
As the title states, I broke a spoke on the drive side rear wheel early one morning and I thought what better way to document this than to post a Broken Bicycle Spoke Tutorial.
Since this particular spoke replacement also requires removal of the cassette, you'll get a 2-fer "How To" that includes Removing a Bicycle Cassette Tutorial.
I took the wheel to my LBS(local bike shop) and they determined the correct length of the replacement spoke and nipple for $2, so without further ado...


 |
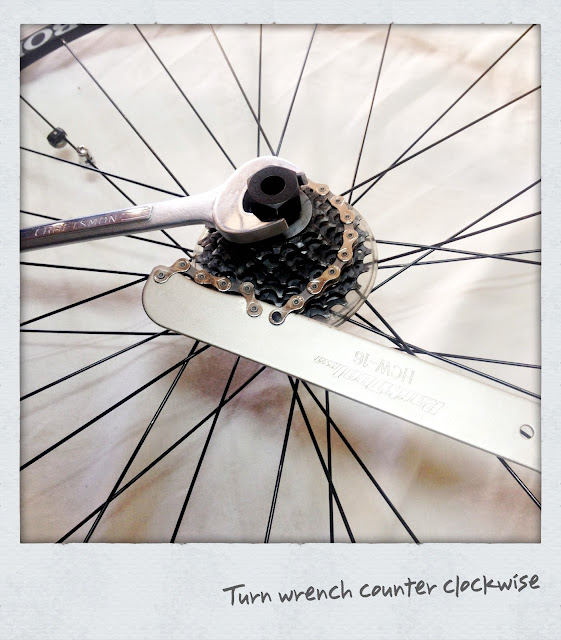
| Remove the quick release skewer to access to the lockring, which holds the cassette on the hub |
 |
Chain whip holds cassette in place while removing lockring
|
 |
| it's actually called a lockring, but you get the idea... |


 |
Technically this would be an over-over-under if you count the next spoke in the hub flange, but I digress
|


 |
There is a special tool that holds the spoke nipple to avoid this sort of rigging
|
 |
Once the spoke nipple was threaded to the spoke, I pulled the tape off
|

 |
Used a chain cleaner/degreaser, rag, and brushes to clean parts
|


 |
Notice that the wrench is now is in the right hand as opposed to the left in the removal
 |
 |
| I will go into detail on wheel truing if there are interested parties |
Once the wheel is back in true, replace tube and tire, inflate to the stated psi and mount back on the bike...voila!! You are now back in business to ride another day. I hope you found this tutorial resourceful. Please post comments and questions below.
Until the next time
Keep your mind sharp, body fit and pedal hard
MB&B
NICE! Some of the pics aren't showing up for me so you may want to check. :) If I ever break down i'm calling you.
ReplyDelete